How To Make Raised Vegetable Beds
A Small Garden Project
With the recent focus on home & food production (trying to become a little more self sufficient), & with extra time on our hands, a small garden project that we had, until recently, never found the time to get started, has suddenly been accomplished. It has been a great opportunity to get outside, get busy & feel we are achieving something worthwhile – raised vegetable beds!
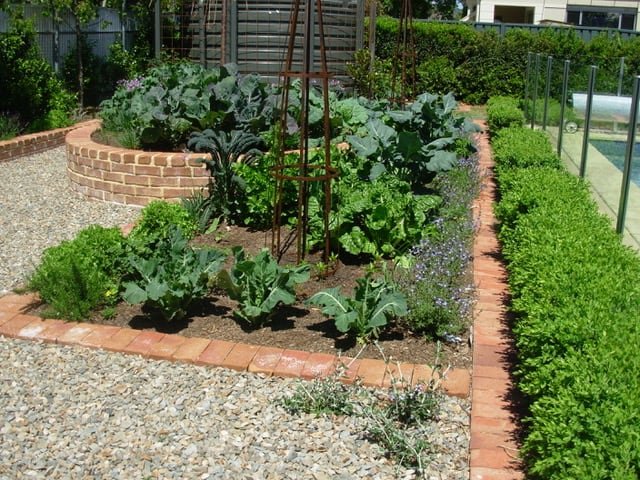
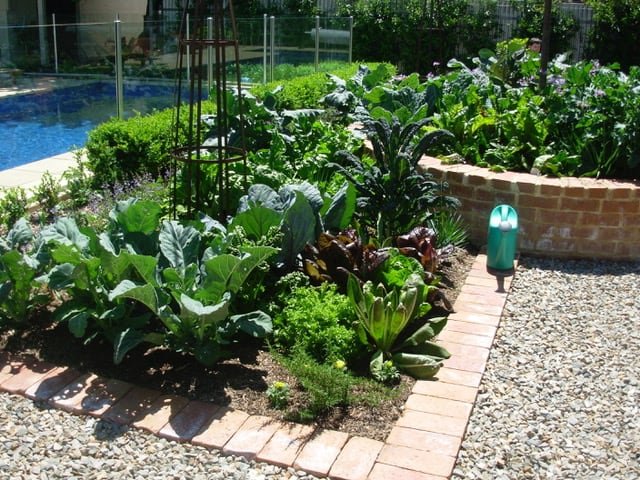
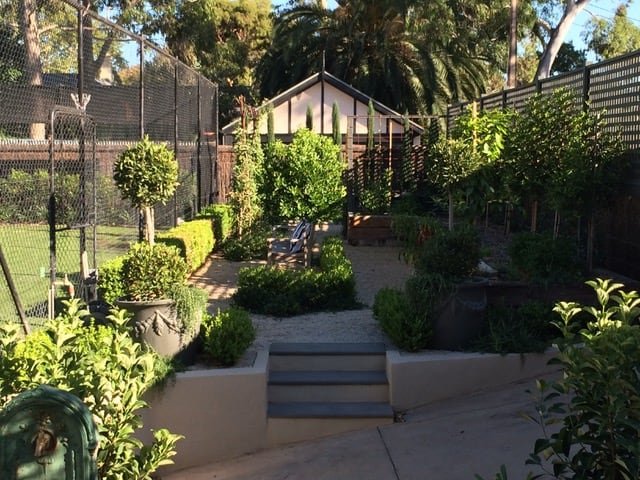
As a garden designer, I also love to incorporate herbs & a few productive plants or trees wherever I can in gardens. They attract bees & insects, bring another dimension to the garden & great sense of satisfaction for clients, no matter how few or how small. A productive area can also be a formal & smart or as relaxed & informal to suit any garden style.
Build or dig a vegetable bed to the size you have available. A little space in a sunny spot is all you need to get started. Even without a dedicated garden bed, discarded compost bags & garden pots & planters can be utilised for herbs & veggies. The site I chose gets sun for most of the day, especially the afternoon sun which is ideal for maximum growth.
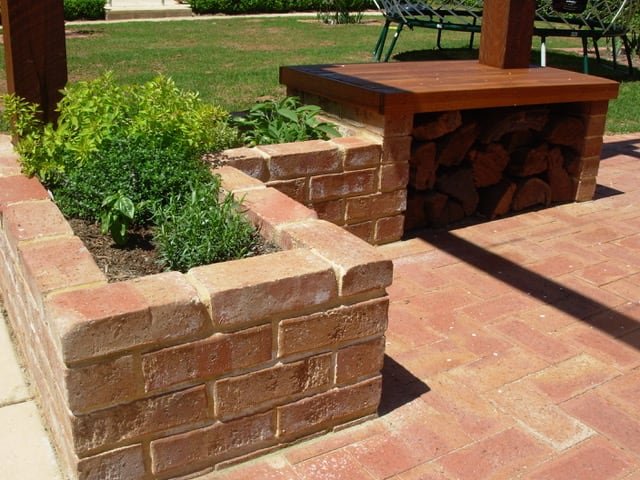
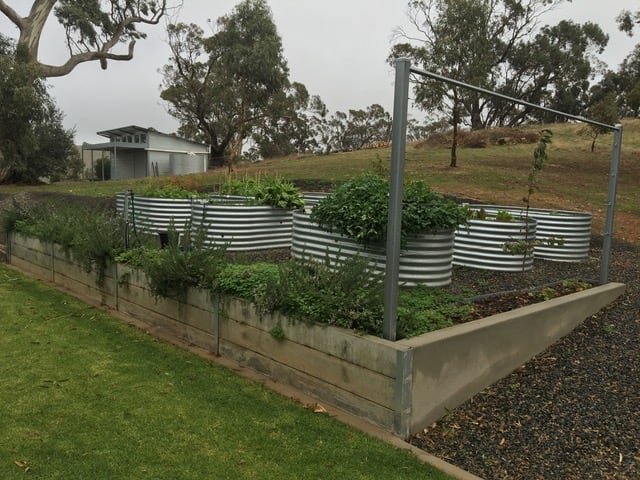
As the soil in our garden consists mainly of builders rubble & boulders with nowhere to dump the material we removed, raised vegetable beds were a good option. If your soil garden soil is OK, you could simply dig in some good quality compost to improve the soil.
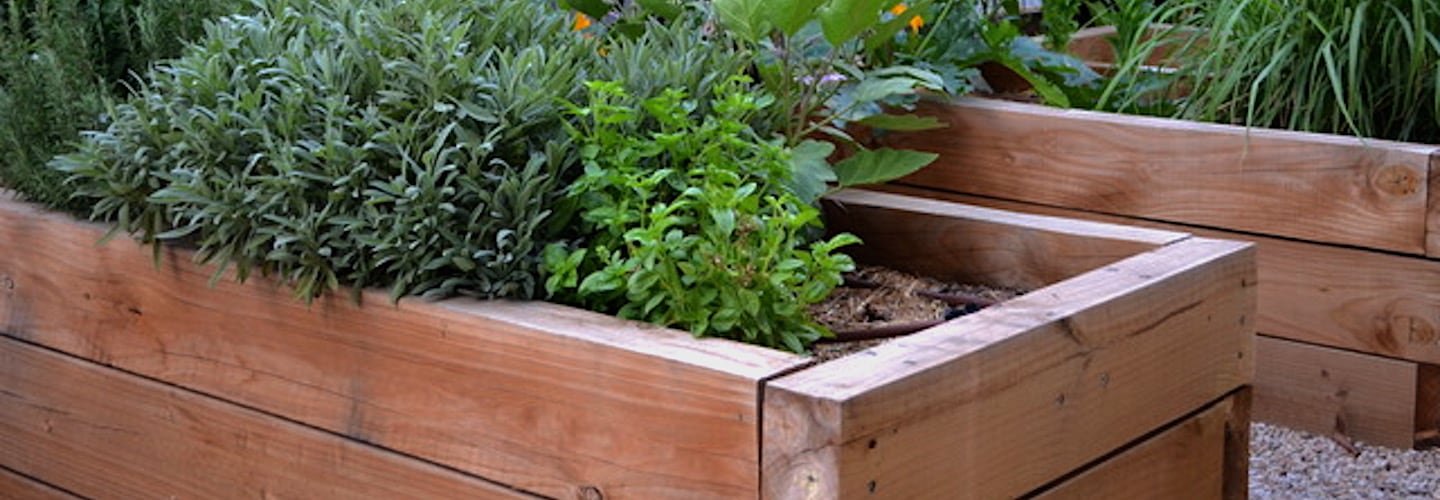
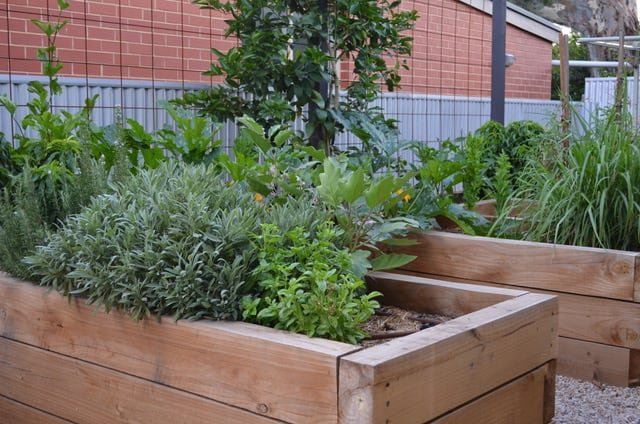
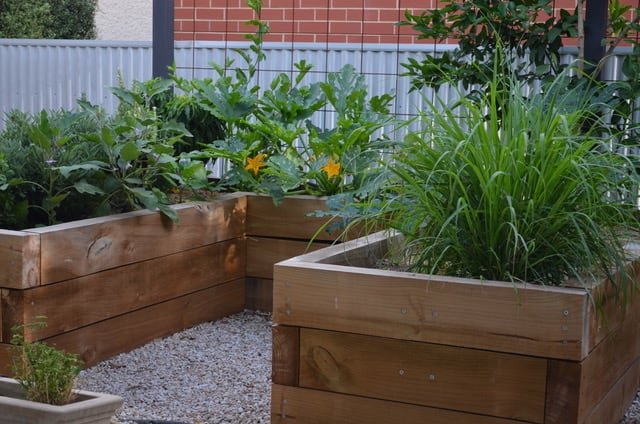
The size was determined by the overall space, & standard wood lengths available to avoid extra cutting. We limited the overall height & size to require minimum support & without requiring a foundation.
Raised Beds Materials
SLEEPERS
Green treated pine (1.2m, 2.4m & 3.6mL x 200mmH x 50mmW)
Screws: 100mm Size 8 HEX screws
POSTS
Fence Posts 2.4mL x 75mm2
SOIL
Good quality garden soil for raised beds.
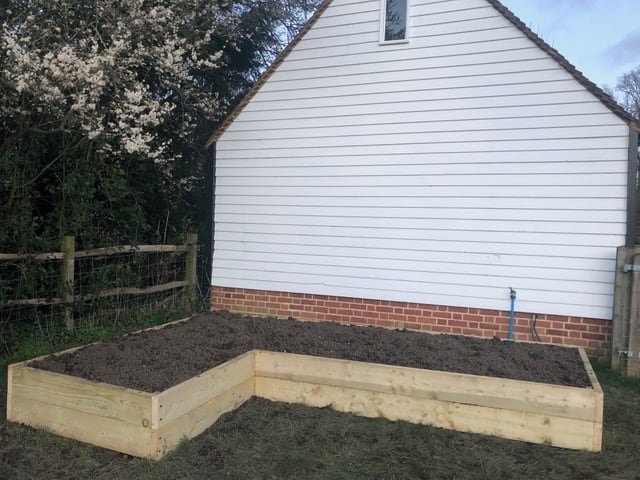
x 2 sleepers high (400mm) which is so much easier on your back when bending to tend your plants.
A post & trellis frame was attached to the back to support climbers.
Construction
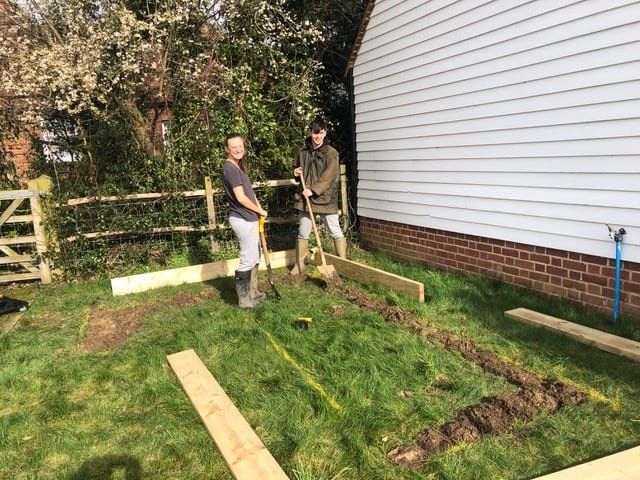
• We marked out the space on the ground where to raised bed would be located with some spray paint. This could also be done using a garden hose & garden pegs.
• We turned the existing grass over in spade size amounts so that the soil was on top and grass was underneath.
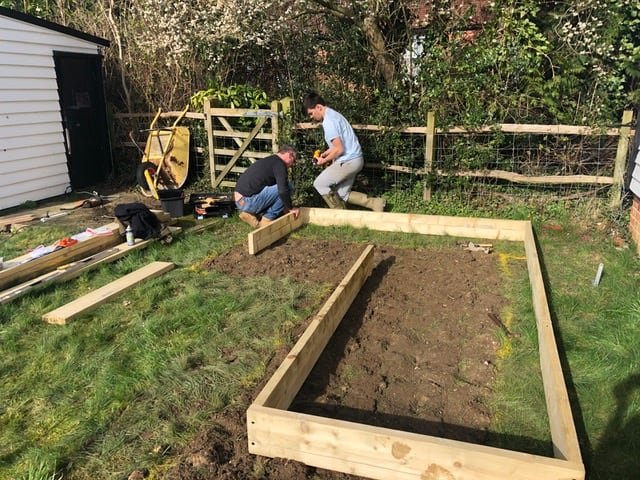
• The lengths of wood were laid out in place & the first level of sleepers were drilled & screwed into place.
• The second layer was added & additional wood supports put inside each corner & half way along the longest length for added structural support.
• The vertical posts were attached to each end at the rear of the bed with trellis infront, between the bed & the posts.
• The bed was filled with good quality garden soil.
Planting
The most important thing about planting in raised beds is not to get too excited & plant too many of one variety of vegetable. It is also really important to grow what you love to eat & plant in succession so that as one crop finished, you have another to replace it with & you can continue harvesting throughout the season.
Allow enough space for the fully grown plant to fill & follow planting instructions of your seeds or seedlings. As I don’t have a green house I am planting directly into the soil & therefore following timing recommendations.
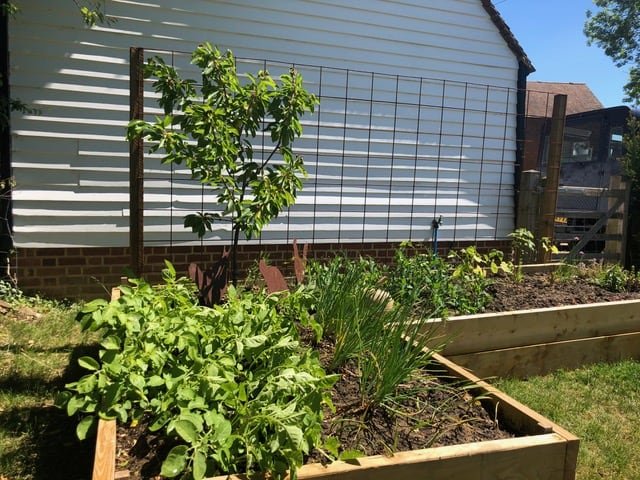
In my small bed I have a dwarf cherry tree, onions, garlic, herbs, raspberries, dwarf peas, beans & lettuce. I have used old plastic pots & empty compost bags to grow potatoes. These take about 3 months to grow & take up quite a lot of space & therefore they are sitting on the ground so that my raised bed can be utilised to maximum capacity & variety over the growing season.
I would also say that the nursery production industry is on the brink of collapse with millions of plants ready for sale & nowhere to sell them. There are many garden product retailers are offering delivery & online options etc. So, as the weather warms up, it is the perfect time, either in pots or garden beds, to think about a bit of productive gardening. It is also very good for the soul & something everyone can get involved with.
Note: the chickens aren’t real but they cheer me up anyway!
Thanks for reading, please feel free to leave comments below.
Jo Connolly